Setting Up Your Project
A project in SearchVector represents a website you want to track. Each project has its own tools, keyword data, GSC integration, and team settings.
Before you begin
- A SearchVector account (sign up free)
- Your website URL ready
Step 1: Open My Projects
After logging in, you land on the My Projects page — your central hub for all tracked websites.
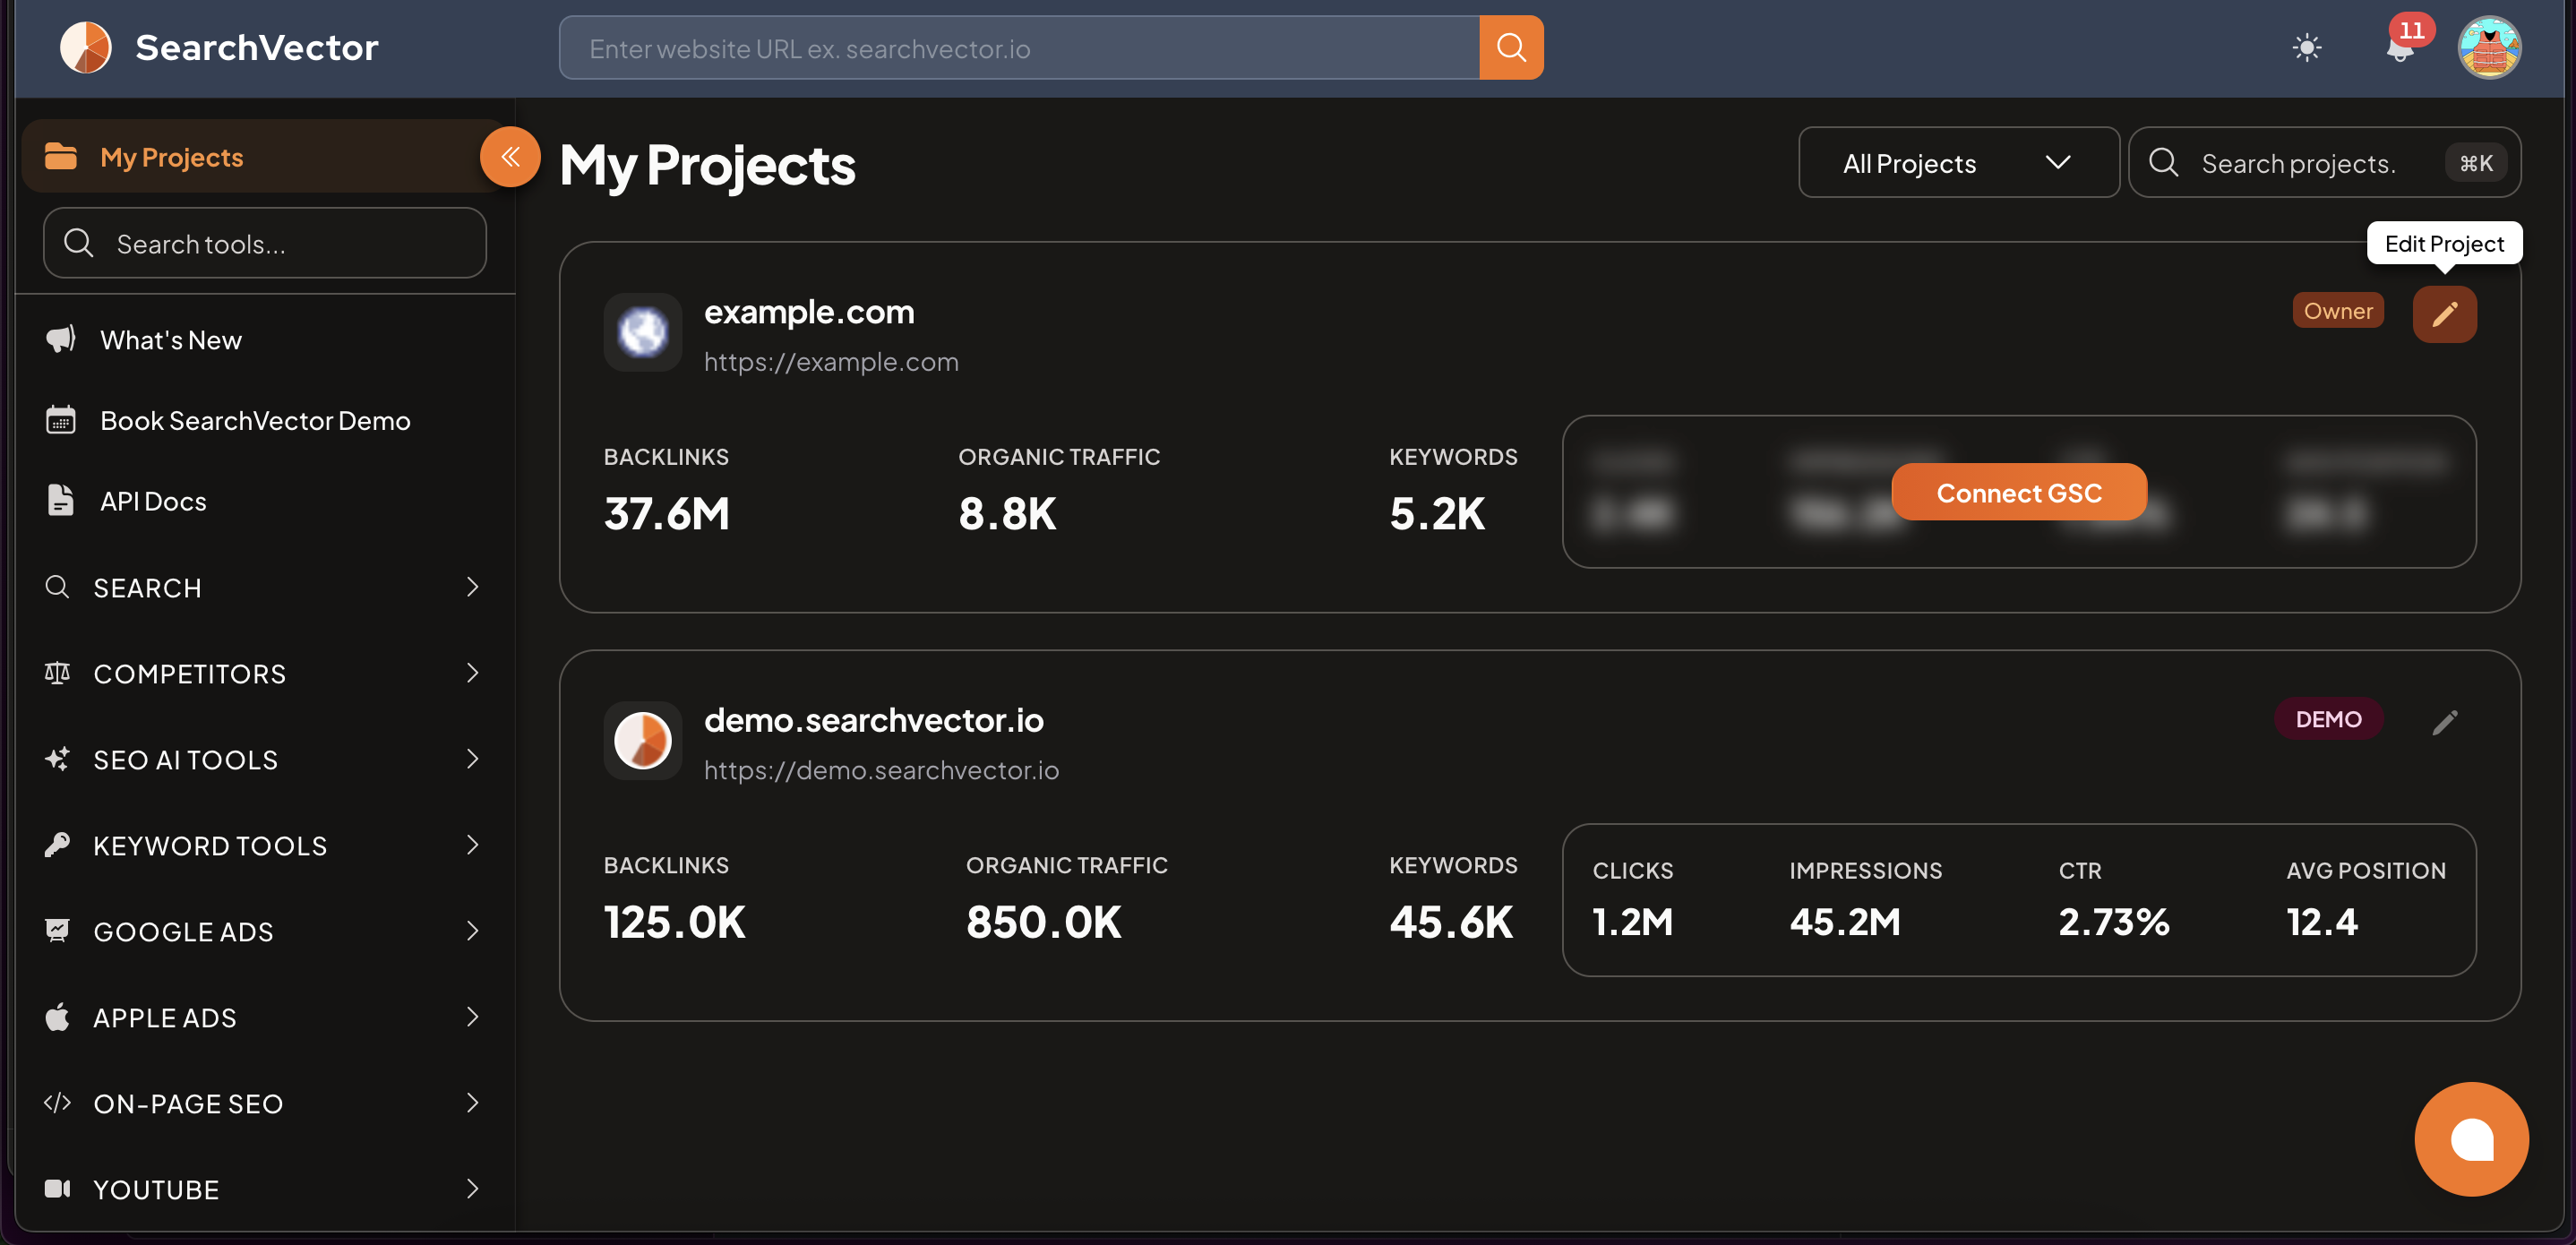
Each project card shows:
| Metric | Description |
|---|---|
| Backlinks | Total backlinks pointing to your site |
| Organic Traffic | Estimated monthly organic visitors |
| Keywords | Number of tracked keywords |
| Clicks / Impressions / CTR / Avg Position | Shown after Google Search Console is connected |
Step 2: Create a new project
- Click + New Project (top-right of My Projects page).
- Fill in the project details:
| Field | Notes |
|---|---|
| Project Name | Display name (can be changed later) |
| Website URL | Your website's full URL — cannot be changed after creation |
| Description | Optional short description |
| Default Country | Used for rank tracking and keyword data |
- Click Create Project.
Choose your Website URL carefully — it cannot be edited after the project is created. If you need to track a different domain, create a new project.
Step 3: Configure Project Settings
After creating your project, open Project Settings to complete the setup.
Click the pencil (edit) icon on your project card to open settings.
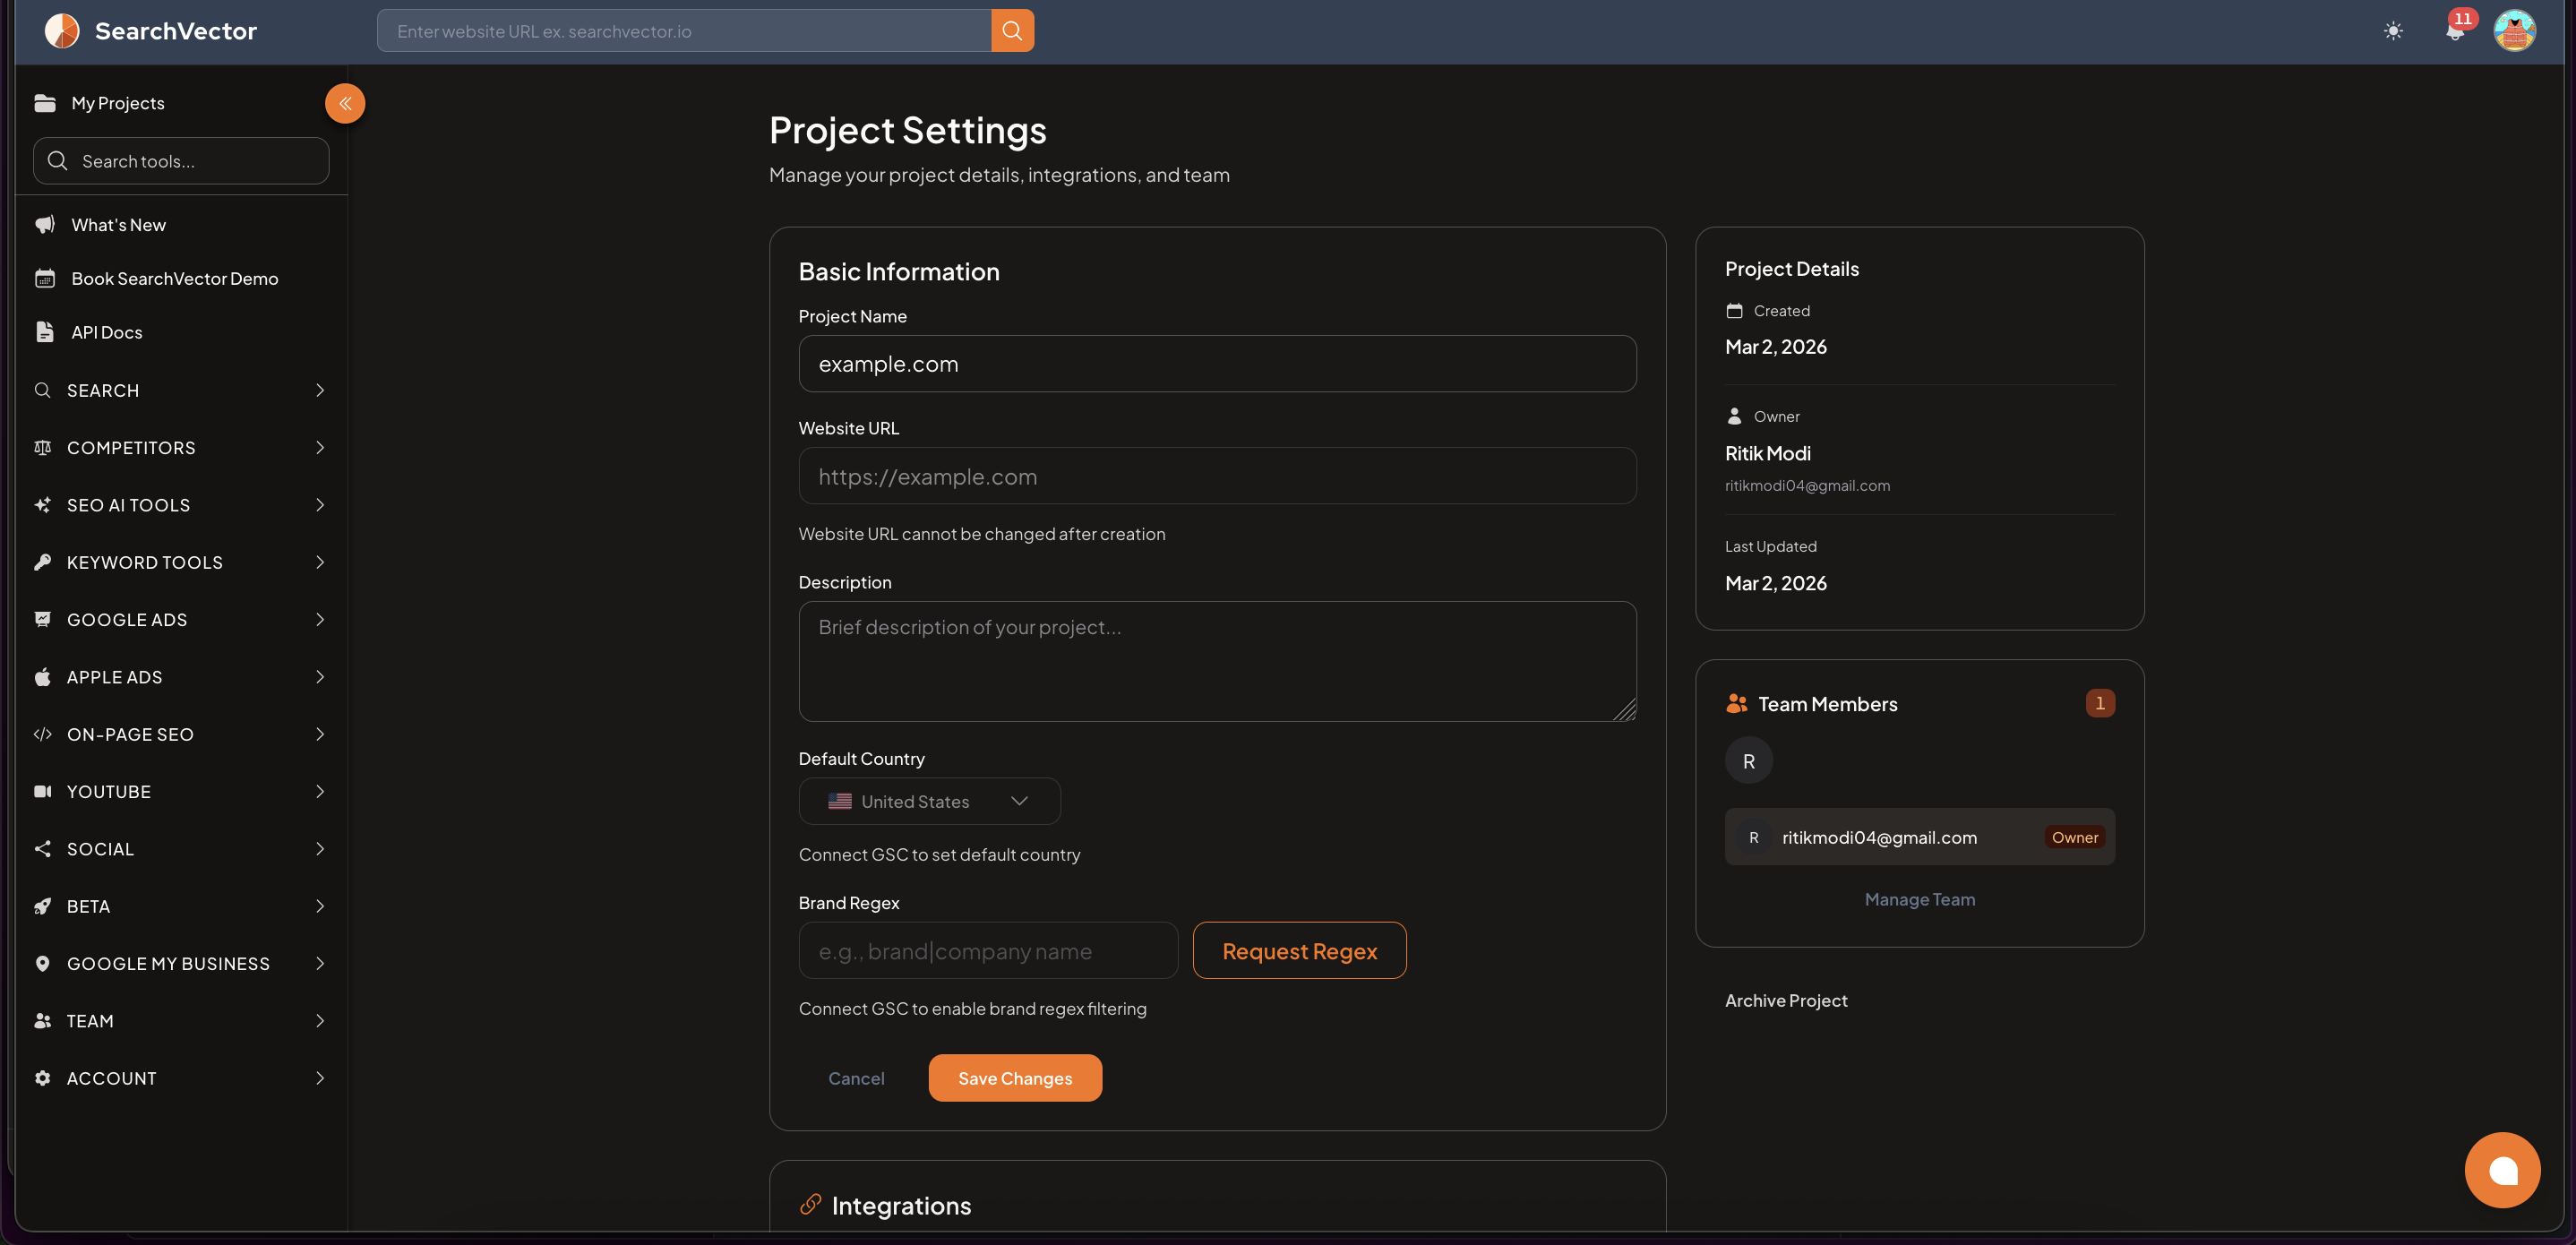
Here you can set:
- Default Country — requires GSC connected to auto-set
- Brand Regex — filter branded vs non-branded keywords (requires GSC)
- Description — update project description anytime
Click Save Changes when done.
Step 4: Connect integrations
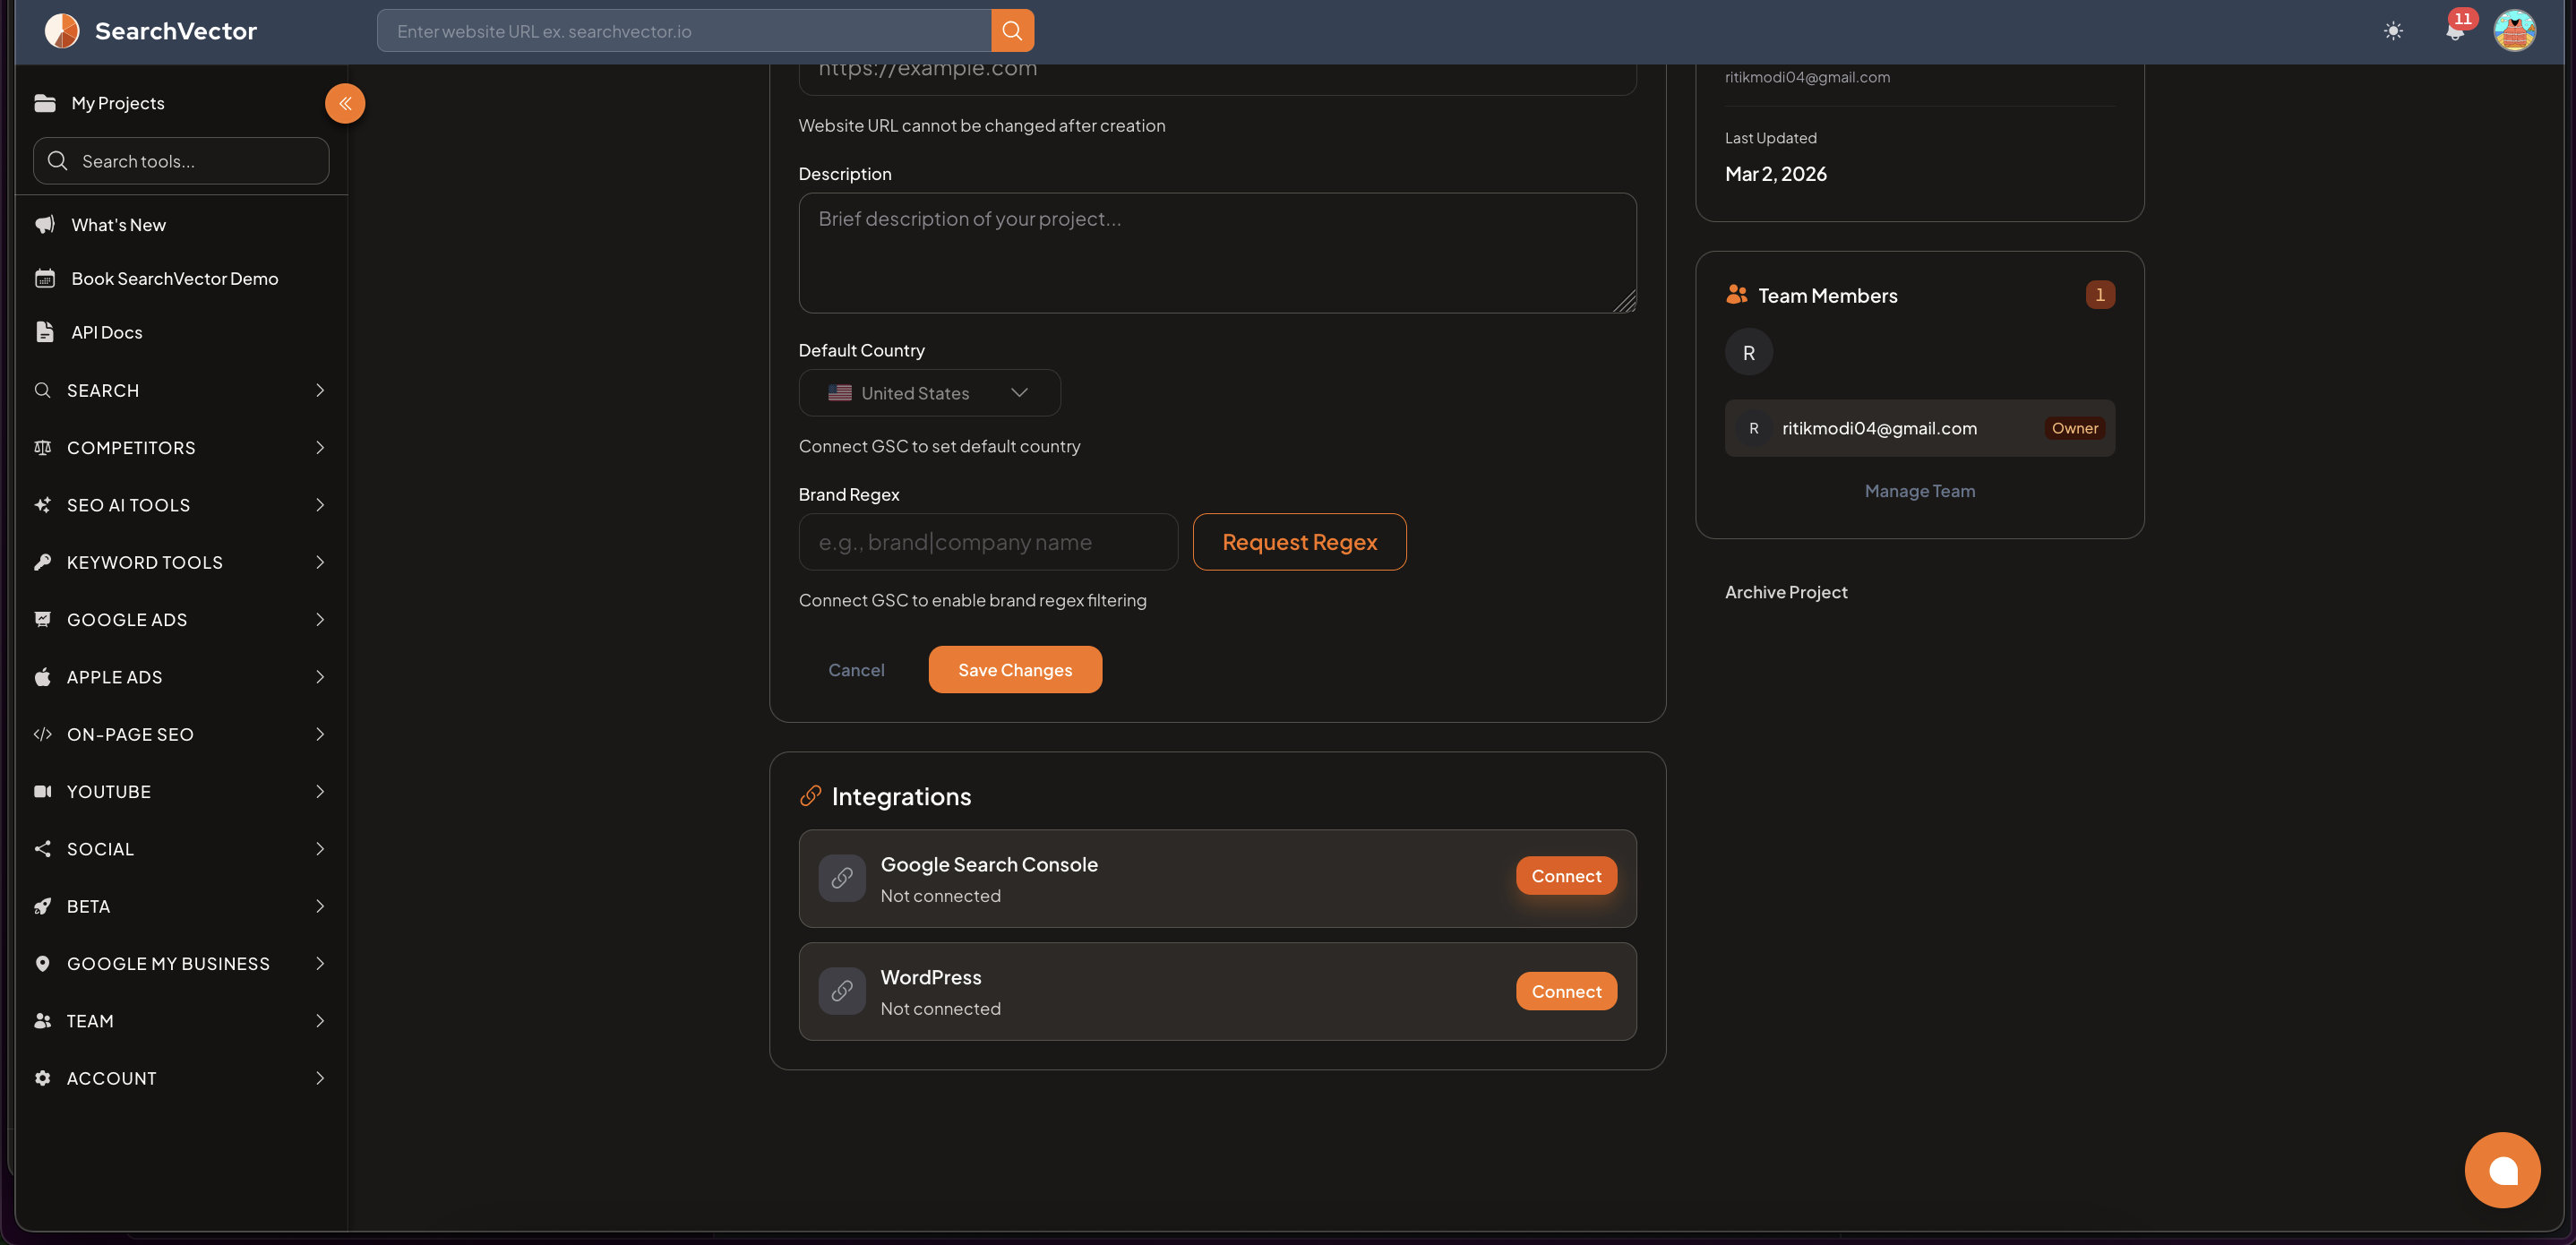
Under the Integrations section in Project Settings, connect:
| Integration | What it unlocks |
|---|---|
| Google Search Console | Clicks, Impressions, CTR, Avg Position on project card; GSC Insights; Index Status; Brand Regex |
| WordPress | Fetch and bulk-update page titles directly from your CMS |
Click Connect next to each integration and follow the OAuth steps.
Connect Google Search Console first — it unlocks the most data across SearchVector tools. See Connect Google Search Console.
Step 5: Manage your team
In the Team Members panel (right side of Project Settings):
- Click Manage Team to invite team members
- Enter their email and assign a role:
| Role | Access |
|---|---|
| Owner | Full access — settings, team, archive |
| Admin | All tools, invite members |
| Viewer | Read-only access for clients or stakeholders |
Filtering your projects
Use the All Projects dropdown on the My Projects page to filter:
- All Projects — shows every project you have access to
- My Projects — only projects you own
- Shared Projects — projects others have shared with you